I was looking at jewelry in Pinterest and saw some people making Rosary bracelets. So I have made a few for different Catholic friends babies and grandbabies. I have a couple more to make for a couple of friends. I really like making them.


I was looking at jewelry in Pinterest and saw some people making Rosary bracelets. So I have made a few for different Catholic friends babies and grandbabies. I have a couple more to make for a couple of friends. I really like making them.
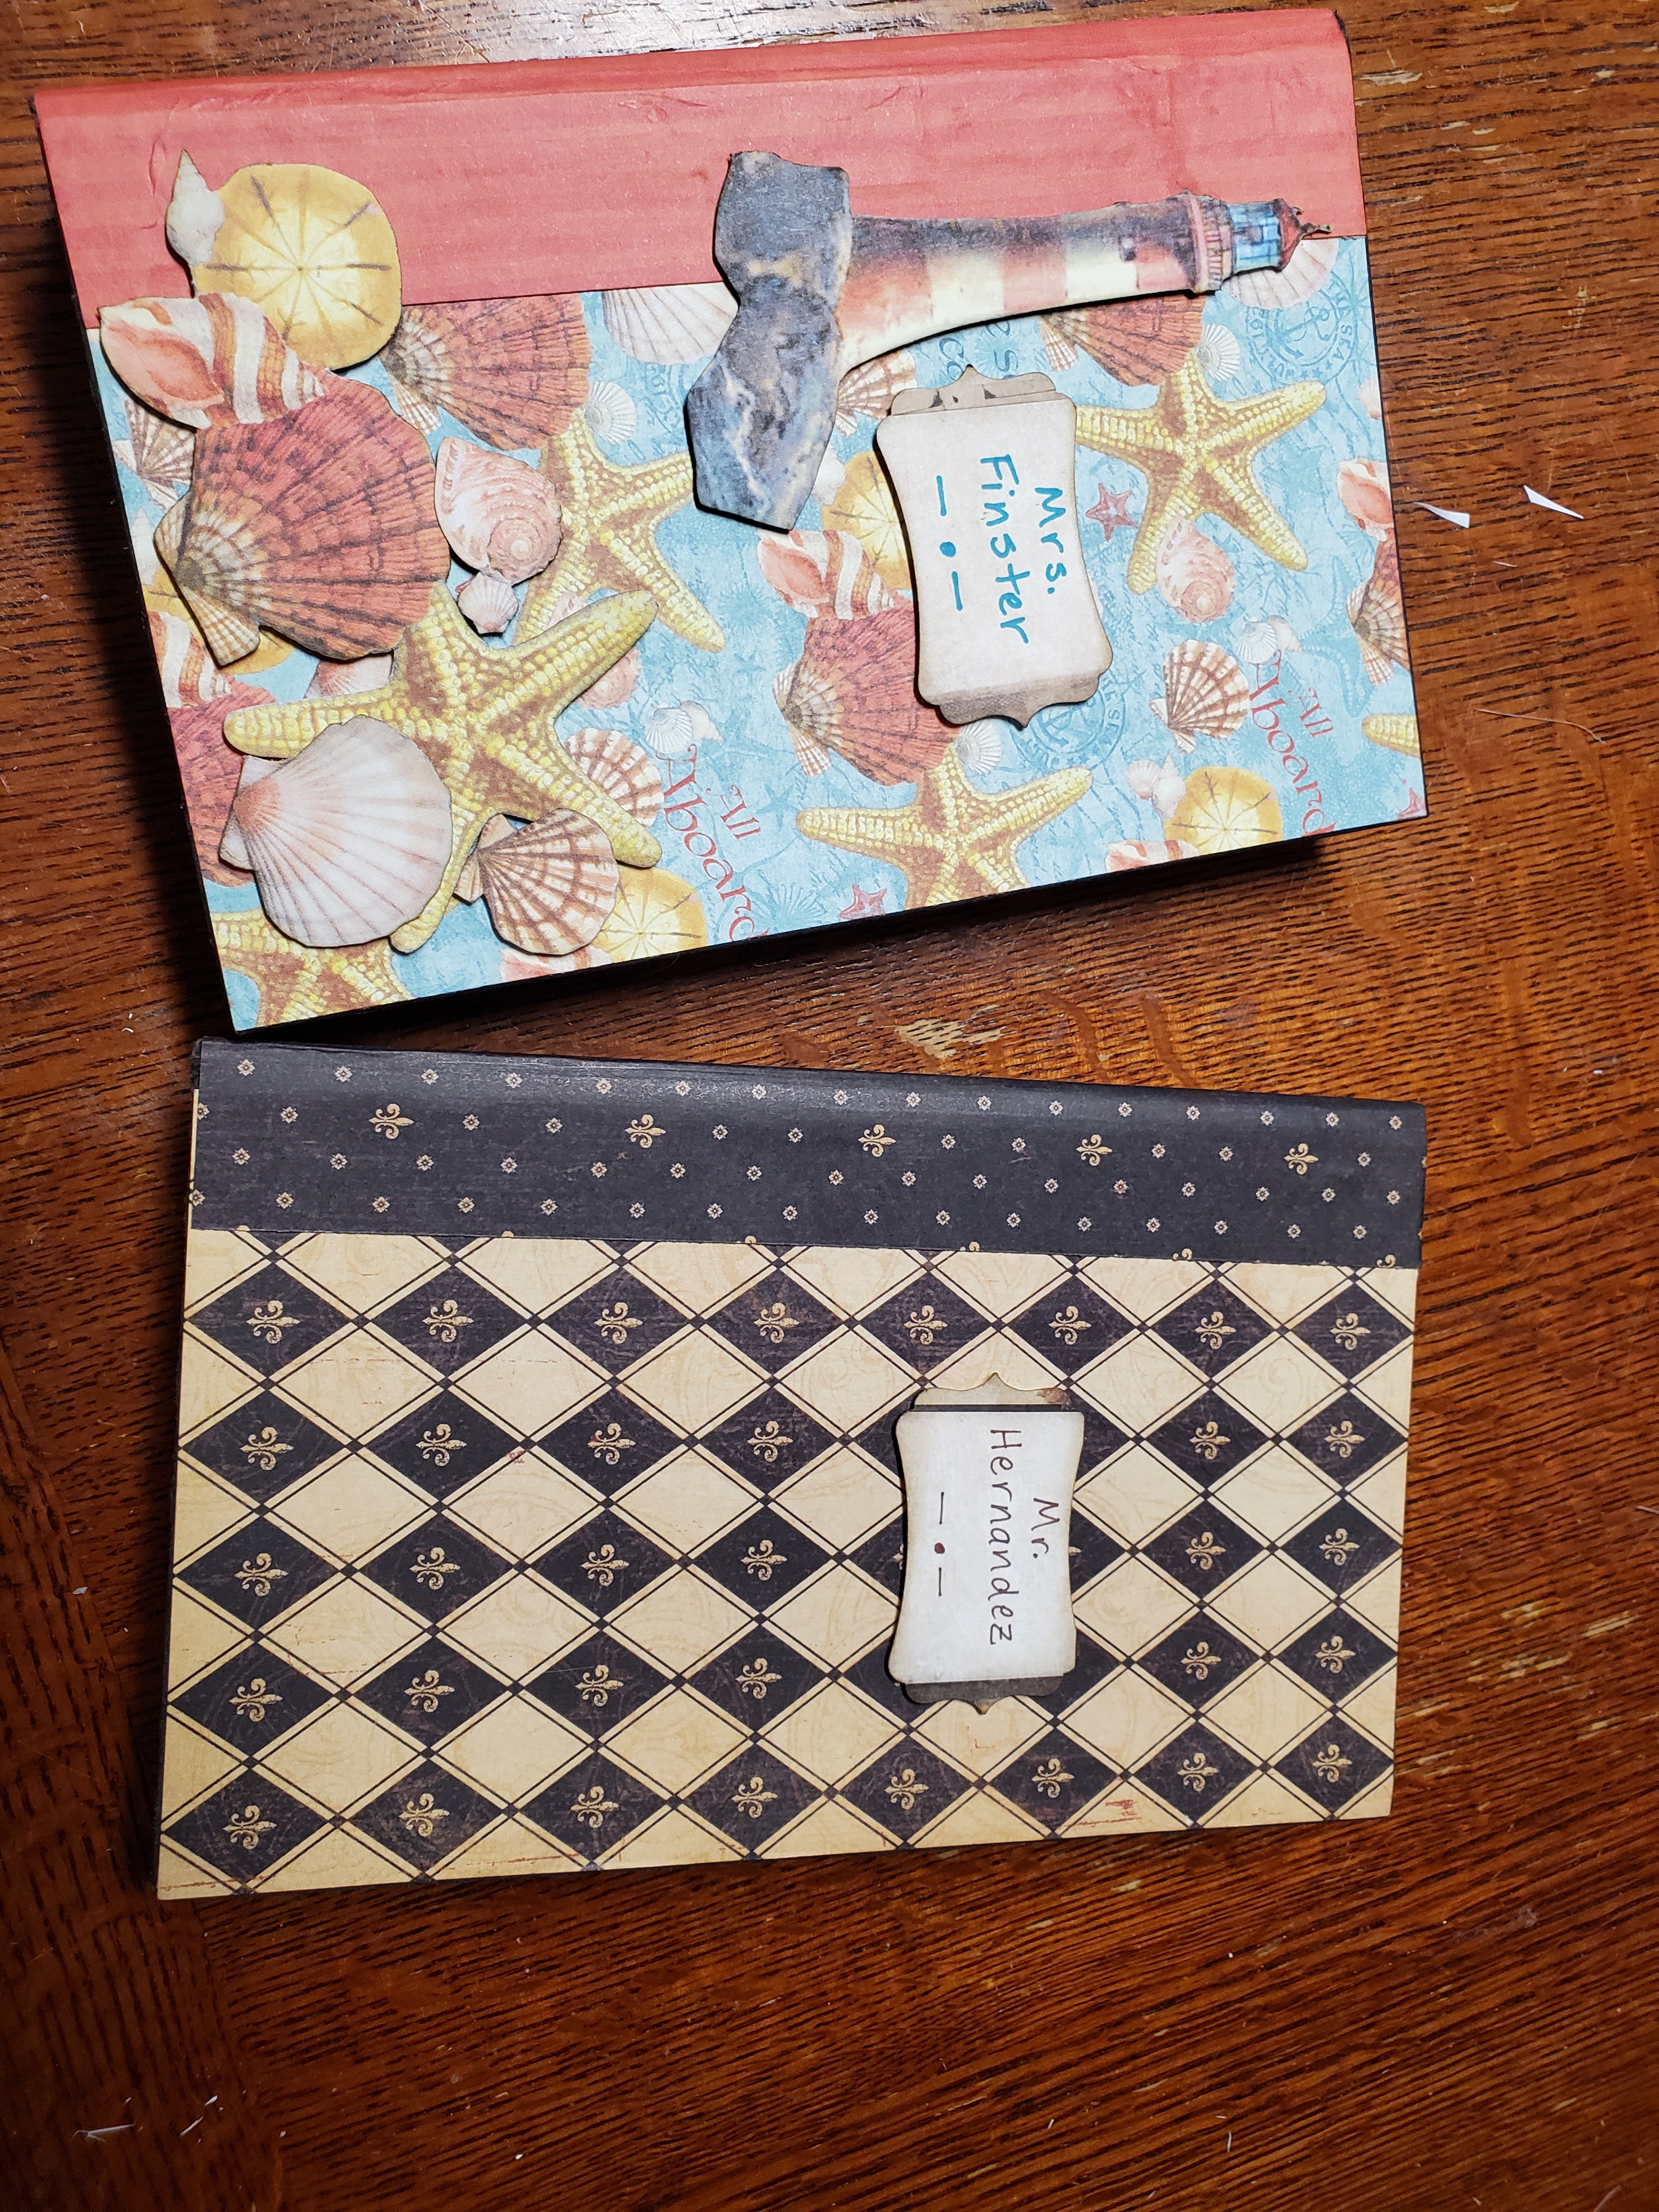
I love making personalized notebooks for friends and family. Here are some I have made in the past 5 years:


If you have not made a 3 D card yet, you really need to make one. The set up is not hard, it just takes some time. This is the video I watched to make it. There is some confusion about the middle tubes, so be aware of that when you make your own, but she really explains it well. I will show you the cards I have made below. So much fun. I have always used Graphic 45 paper to make these, I feel they have more color and visual texture to them.
This is the link to Amy Kinler


I always have an inspiration card that I find in Pinterest. I will post my inspiration card when I can find it again.


The joy with these cards is that I did very little to create them, the paper did all of the work. The top three cards, I use a quilt cut out from a 12 x 12 Christmas paper pad that I have had for a while. I decided to clear out my old papers with all of these cute cut outs that I had never used and these and the following cards are the result of the cardmaking binge. All of these cards will be 5.5" x 4.25". On the quilting card I only had to use my sentiment and an oval punch. For the "Christmas Memories" again the sentiment and oval punch were used. The next card only used cut outs. The Noel card used a foam snowflake as well as the cutout.

All of quilt cards again used the same treatment mentioned above. The 2 cards with stockings also used cutouts only as did the top right card with a notecard on it. The 5 cards in the last 2 rows also used cutouts to complete them. Truly, I almost felt like I was cheating when I made these cards. Very quick to make, but really looked nice. Did not have the texture and dimension I like in my cards, but it had the country feel I like in my cards.

In this batch of cards, the HUGE Merry Christmas, the Dec 25, the stocking card, and the 2 end cards on the next to the bottom row are completed with cut outs with a sticker. The rest of the cards were made from leftovers from previous years Christmas cards. I love to use ornaments and the one you see here is a Spellbinder 2010 Heirloom Ornament die cut. I used it to cut out music paper for a card I did one year. I also have used my die cuts to make poinsettias and I always make extras, so I used my leftovers to decorate on these cards. The sentiment die cuts I used above are "Be Merry" from Ultimate crafts ULT157687; "Merry Christmas Garland" from Memory Box #99548. I have not listed the other die cuts because I do not have them near me, not sure where they are.

The cards made with hexagons were made with the hexagon punch from Fiskars and again using scrap paper, I punched out a lot of hexagons and then making sure to not have matching paper next to each other I placed them on kraft cs 5.25" x 4" run through a corrugator tool that was adhered to the red cs base. A hexagon with the bottom cut off was the base of the tree and it was finished off when I tied a double bow and placed it on top of the tree.
The cards with the ornament on a snowflake has a sentiment that is a favorite of mine which I found probably at Tuesday morning. I looked and the cover is gone, so I do not know the manufacturer. The ornament is a punch from Stampin' Up. The punch and foam ornament is layered on a 2.5" x 4" banner style red b&t paper. Under this and perpendicular to it is a 2.5" white b&t paper with colored dots centered on 2.75" red cs.
The pinwheel cards are created on a 4" x 4" base using 2" squares with 2 cut in half diagonally and 2 cut into quarters diagonally. The halves are arranged to form the large pinwheel and the other 2 colors are arranged in the correct order to finish off the pinwheel. A poinsettia sticker was used to finish the card with a sentiment.
The Be Merry cards used a 5.25" 4" red cs centered over the card base. A 4.25" x 3" of green b&t paper with a 1" x 34" strip green cs with a scallop edge adhered to the bottom edge will be centered on the page. Next layer 2.75" x 2.75" cs on a 3" x 3" green cs and center within the red cs on the top of the card. Cut a 1" x 2.25" green b&t paper into a banner and line up with the top of the card and leave a 1/4" gap on the 2.75" white cs on the right. Take a 1" strip of red cs use scallop punch. Cut a width to place on the green banner. Stamp and cut out a tree to place in the 2.75" x 2.75" white square with room for the sentiment below it in red.
I do not have directions for the other 3 cards in the picture. 2 of them I found on pinterest and I did my own measurements to create them, but did not write them down. The one in white and red with the Christmas tree, I made over 50 of them. The tree is a cutout I got from some place cards I got at a garage sale. They were so pretty, I knew I would do something with them. I will remake these and write down the directions, but it was labor intensive. I made these for my staff at school and they are definitely worth it!


